An update on soil testing and LA after the fires.
Or: trying to become better soil stewards, even in hard times <3

Testing soil is complicated.
It’s complicated no matter what, but it’s substantially more complicated when you’ve just lost your entire home in a fire. As one woman put it on a phone call to me today: “I can’t understand the information, it’s too emotional.”
Most of the phone calls I field about soil testing and contamination, post-fires in Los Angeles, are more akin to grief circles than business transactions, people are just processing too much. They’re trying to decide if they rebuild or sell, what to rebuild if they choose to, how to process what they’ve lost, and figure out how afraid they should be of their land.
I get it, it’s scary.
It’s only been a few months, but what I can say from the vantage point of even a little more time having gone by:
For those of us who work in soil in the LA area, the difference between “before” and “after” the fires is not how much contamination we assume is around us—we’ve always known there is a lot of it—it’s the level of public awareness. Before the fires, it was an uphill uphill battle to talk soil health with the average Angeleno. Now, it’s many people’s absolute top concern. To some degree, this actually presents a tremendous opportunity.
The benefits of having and maintaining healthy soils are simply legion. Healthy soils contribute to greater carbon drawdown, better water cycling and filtration, healthier and more vigorous plant growth. They can also break down contaminants and self-manage pathogens. Healthy soils can really take care of themselves. They also help all of us, as community members, be healthier.
Right now, the best practices for healing our soil are many of the same ones that we should be implementing every single day, in an effort to steward their overall health—and, by proxy, our own. Lots of good organic matter (mulches, compost), an awareness of overall moisture, an awareness of what plants you’re growing and their needs, plus… a lack of harmful pesticides and chemicals.
These things are good for repair, but they’re also essential for maintenance.

Recently, I hosted some soil friends to discuss soil testing best practices at a gallery where I was also having an art show. I wanted to share some of the presentation we put together here, just in case the information is useful to anybody attempting to navigate the post-fire, putting-their-life-back-together landscape.
How to make a game plan
You can always hire an expert, like my friend Lynn, to make the game plan for you. That makes it pretty easy, right?
OR
Figure out what your budget is. This stuff can be expensive, and not everybody has the funds to do comprehensive testing. (That’s okay.)
Based on your budget, decide what you want to test for—and where on your property you want to focus.
Find a soil lab that can perform the specific tests you want to do.
Where to get tests done
Not all soil labs offer testing for all types of contaminants. Here are some different soil labs in the LA-area, and the types of tests they offer.
• Wallace Labs - covers pH, heavy metals
• SunStar Labs - covers pH, metals, PAHs, PCBs, asbestos, and PFAs
• Jones Lab - covers pH, metals, PAHs, PCBs, dioxins & furans
What tests to get done
Lynn, referenced above, recommends doing the following tests in order to get a full picture of the health of your soil:
• pH - $25
• Full Metals Panel - this includes arsenic and lead- $95
• PAH’s - come from the burning of coal, crude oil, gasoline, wood - $125
• PCB’s - man-made chemicals, now-banned, that can still be found in old electronics and paint- $65
• Asbestos - historically used in insulation - $200
• PFAs- these have been getting a lot of attention lately, as they’re widely used in all kinds of plastic-coated household items, like cookware. They are also found in fire-fighting foam - $325
• Dioxins & Furans - come from the combustion of things like PVC plastics and treated wood - $860
Running all of these tests once can total about $1700.
However, most people—given the size of their land—would need to separate their property into several different zones, like front and back yard, and both sides of the backyard, in order to get a clear picture of what level of contamination exists where.
For an average lot in Altadena, it takes three or four zones to get full coverage. That’s suddenly about $5,000-$7,000.
It’s a lot of money. Which leads me to:
How much should you pay?
There are ways to mitigate the total expense of soil testing, while still being able to gain a general understanding of what’s happening in your yard and how to protect yourself.
Here are some ways to reduce the cost:
• Check with your insurance, they may offer at least some coverage.
• Focus on a few key tests. If you are budget-conscious, Lynn recommends starting with pH, lead and/or arsenic, and PAH’s . (On that note: USC is offering free lead testing after the fires.)
• Focus on high-priority zones. High-priority zones are different for different people, it all depends on who lives with you and how you use your property. For example: maybe you only test the soil around a children’s play area. Or maybe you only test the soil near your front door, where people come-and-go the most.
• Perform a single test that covers a large area, but be aware that means you won’t get a precise reading on where contamination is occurring, which may balloon mitigation expenses, later on. It can be helpful to know if you have high lead levels in just one specific area of your backyard versus having to assume the contamination is total.
Please note: You can combine more minimal testing with lifestyle changes that will help mitigate your overall exposure—like becoming a shoes-off household, installing HEPA filters, and/or getting air purifiers.
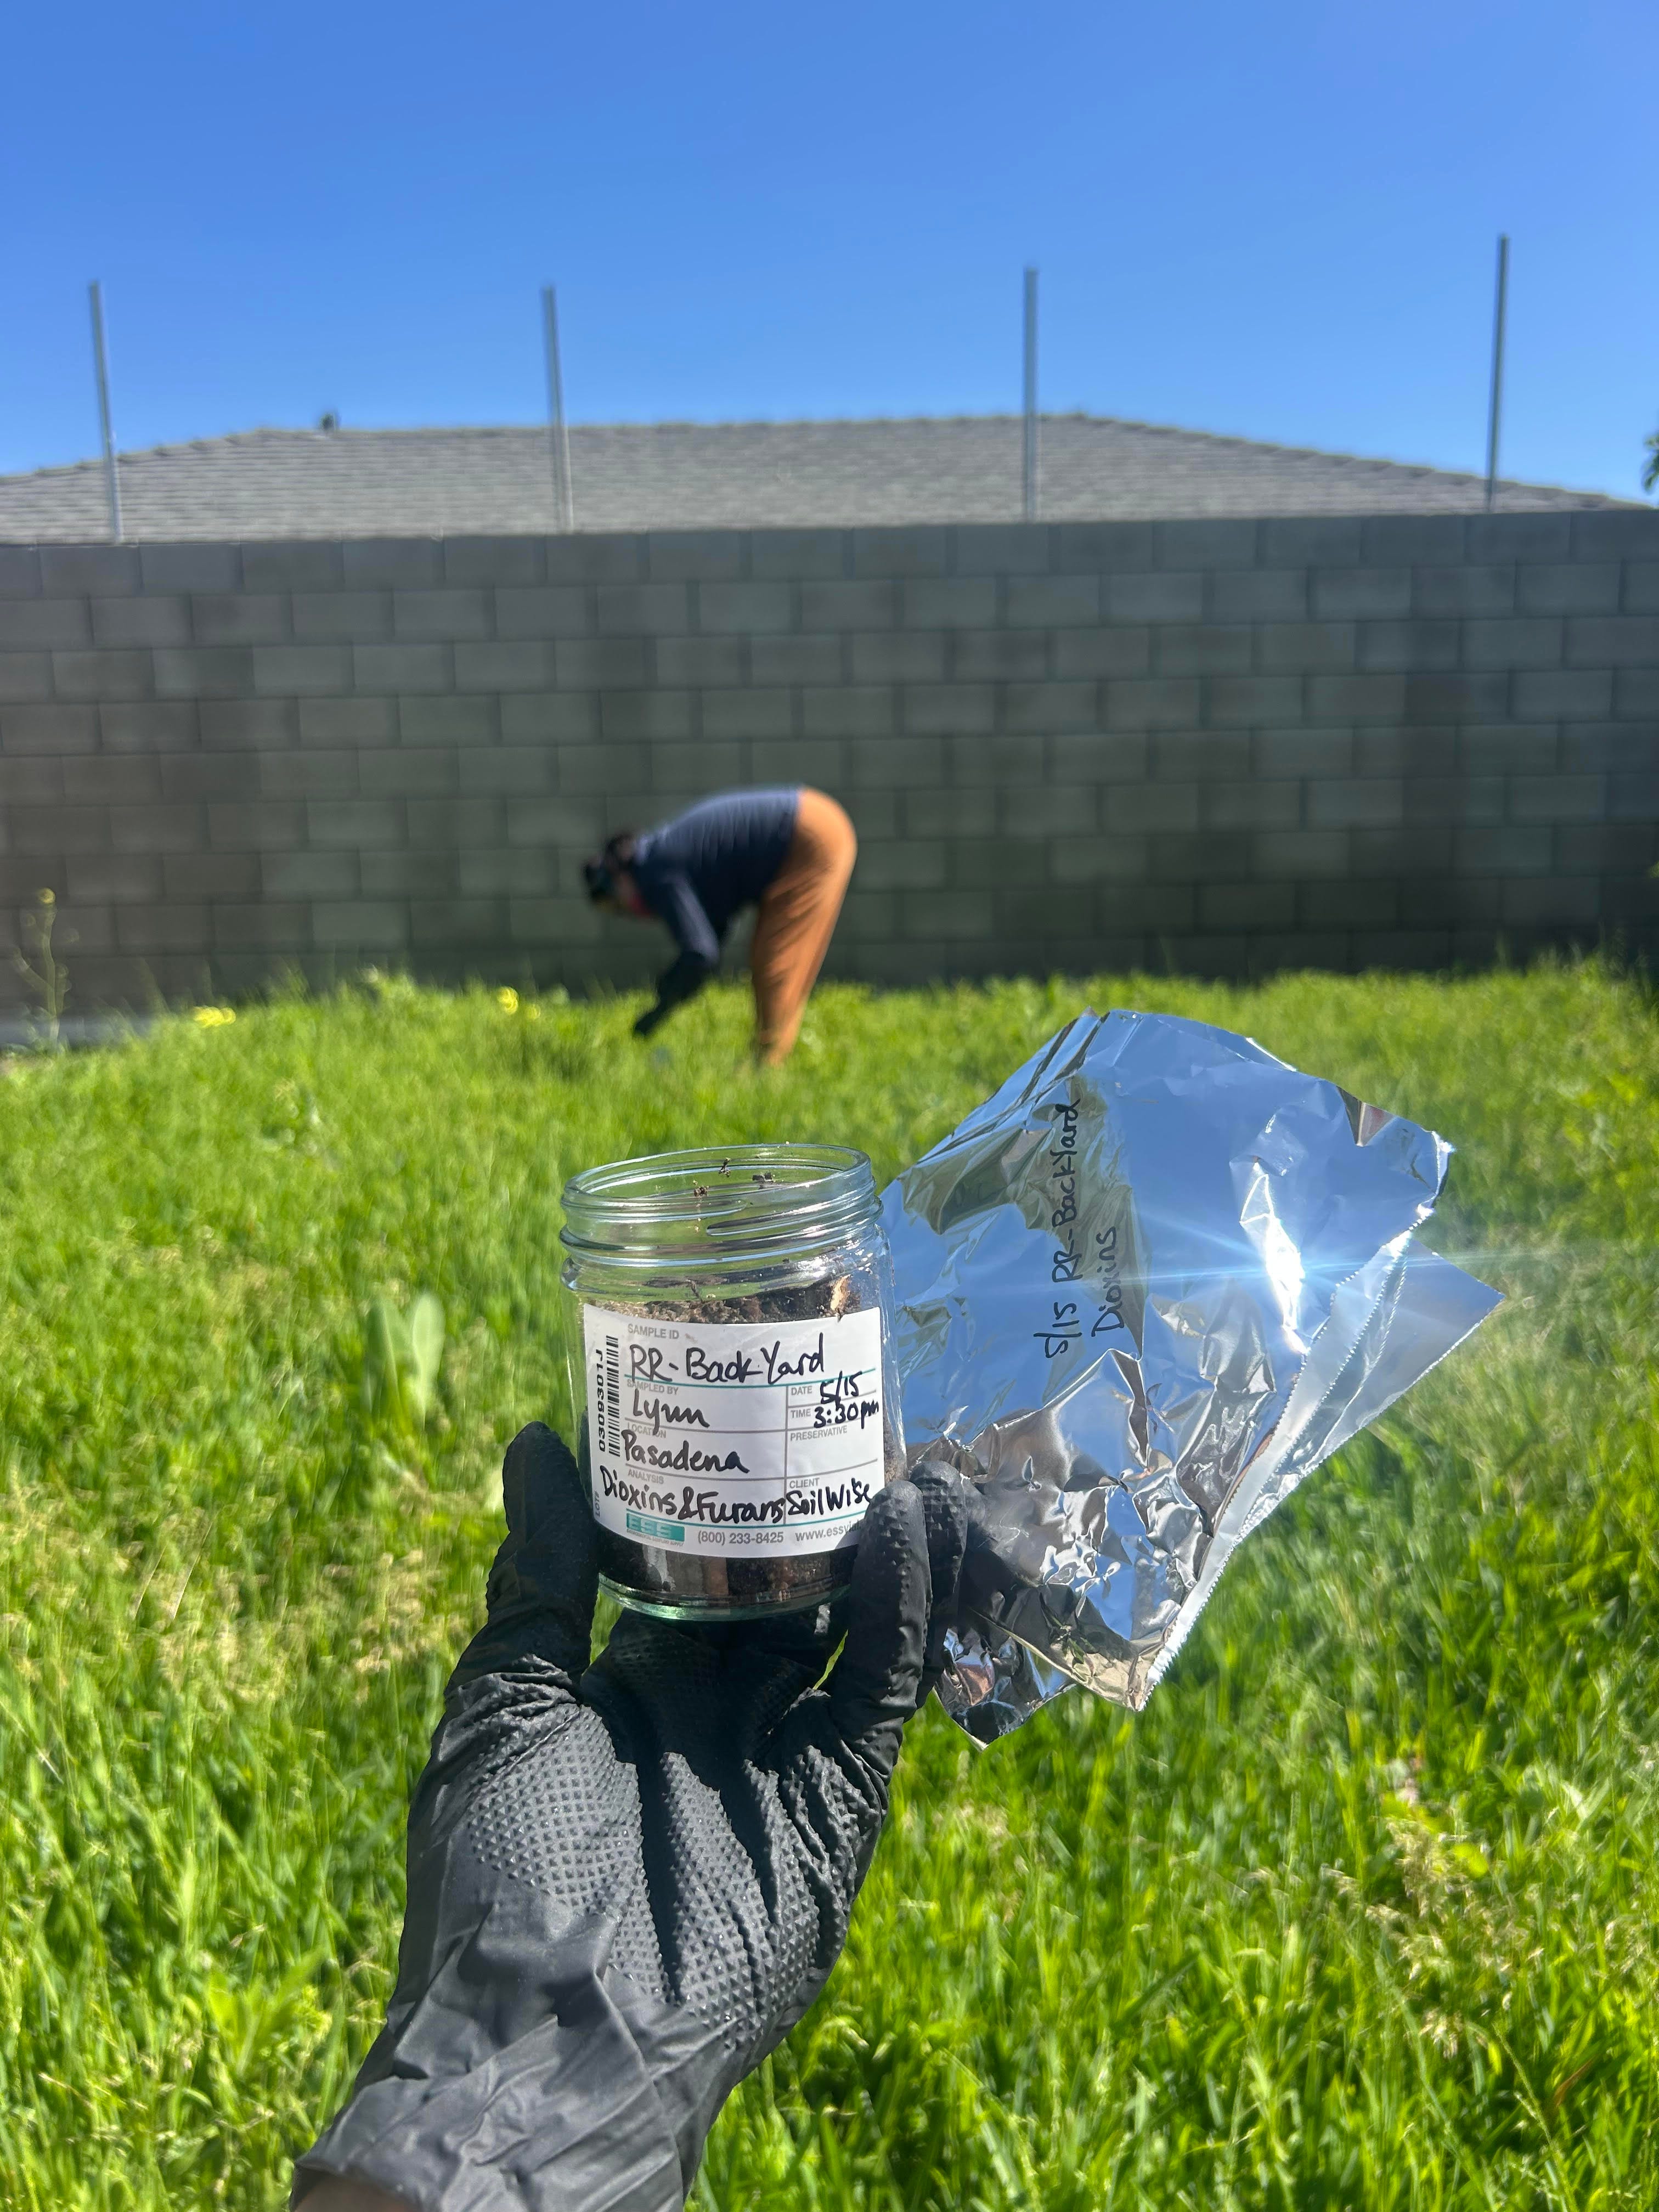
How to test your soil
If you opt to do your own testing, the lab you hire will often provide you with the containers you need to collect soil samples with—along with instructions on how to do so. You may need to collect separate samples for different tests.
The lab should provide you guidelines specific to the tests you want to do, but in general you’ll want to collect a mix of soil from the top layer and from about 3-4 inches down. Mix it together in the provided sample jar. Wear gloves, rinse implements when you’re done.
Some things to keep in mind:
It is normal and okay to feel incredibly overwhelmed. But there are people and organizations around who can help you think this stuff through.
Here are just a handful of them:
• My friend Lynn, and her company SoilWise. You can contact Lynn for soil testing here,
• The Center for Applied Ecological Remediation
If you live in the Los Angeles area and are interested in exploring soil-testing options and/or just having a candid talk with somebody about your home and your concerns, I are always available! You can reach me by replying to this email. I may not have the exact answer you’re looking for, but I’ll at least know where to point you.
Love,
Cass
I would also test in a veggie/fruit garden area.
Wow Cassie-This was a very informative post. You made points I never thought of. An example of that was people around the fire area relearning the importance of care for the land with its soil and what is planted there. Keep up the good work of education and caring.