Vermicompost. Worm castings. Castings. All of these are just fancy ways to avoid saying the truth, which is: worm poop. “Vermicompost” is farming worm poop. You put some worms in a little handmade environment and cultivate their poop for your garden. It’s wonderful. Worm poop is considered to be the richest, most nutrient-dense soil available for a farm or garden. Some lucky people will find an abundance of these creatures pooping freely in their backyard garden without any human interference, but many of us—facing increasingly degraded soils, urban pollution, and other obstacles—might need a little assistance. That’s where building your own vermicomposting system comes in handy. Luckily, it’s pretty easy. And as with most things compost, it’s also cheap.
The 101 of Vermicomposting
TIME COMMITMENT: 30-45 mins
COST: $30
MATERIALS:
worms!
two plastic storage tubs
a drill
cardboard, paper, old eggshell cartons (etc.)
dirt or compost
water
food scraps
First, a note on worms:
Not all worms are the same when it comes to compost. For vermicompost, red wigglers—the same kind you use when fishing—are the standard because they prefer to occupy the top 6 inches of soil. Other types of worms like to burrow deep, deep down and stay there, which makes them less likely to end up munching on your food scraps. You can buy a lot of red wigglers for not very much money at almost any garden or fishing store.
In general, when you build any vermicomposting system, you’re really just making an ideal home for your worms. Worms love moisture and dislike sunlight. They need oxygen, and they prefer shadier and cooler areas. They need some type of “grit” in their surroundings that they can eat, which then helps them grind up and digest their food. Grit is a feature of most dirt, but if you want to be extra thorough, you can add oyster flour or rock dust. Only a little is needed—a tablespoon or so. These general principles are good to keep in mind as you build, and then nurture, their habitat.
Your worms will pretty soon become your friends because that’s just what happens when you’re taking care of other living things. I didn’t make the rules here, it’s science.
Building your vermicompost
Drill holes in one of your bins
Fill it 1/3 of the way with dirt or compost and torn up cardboard
Wet everything!
Add food scraps
Set bin one into bin two, and cover
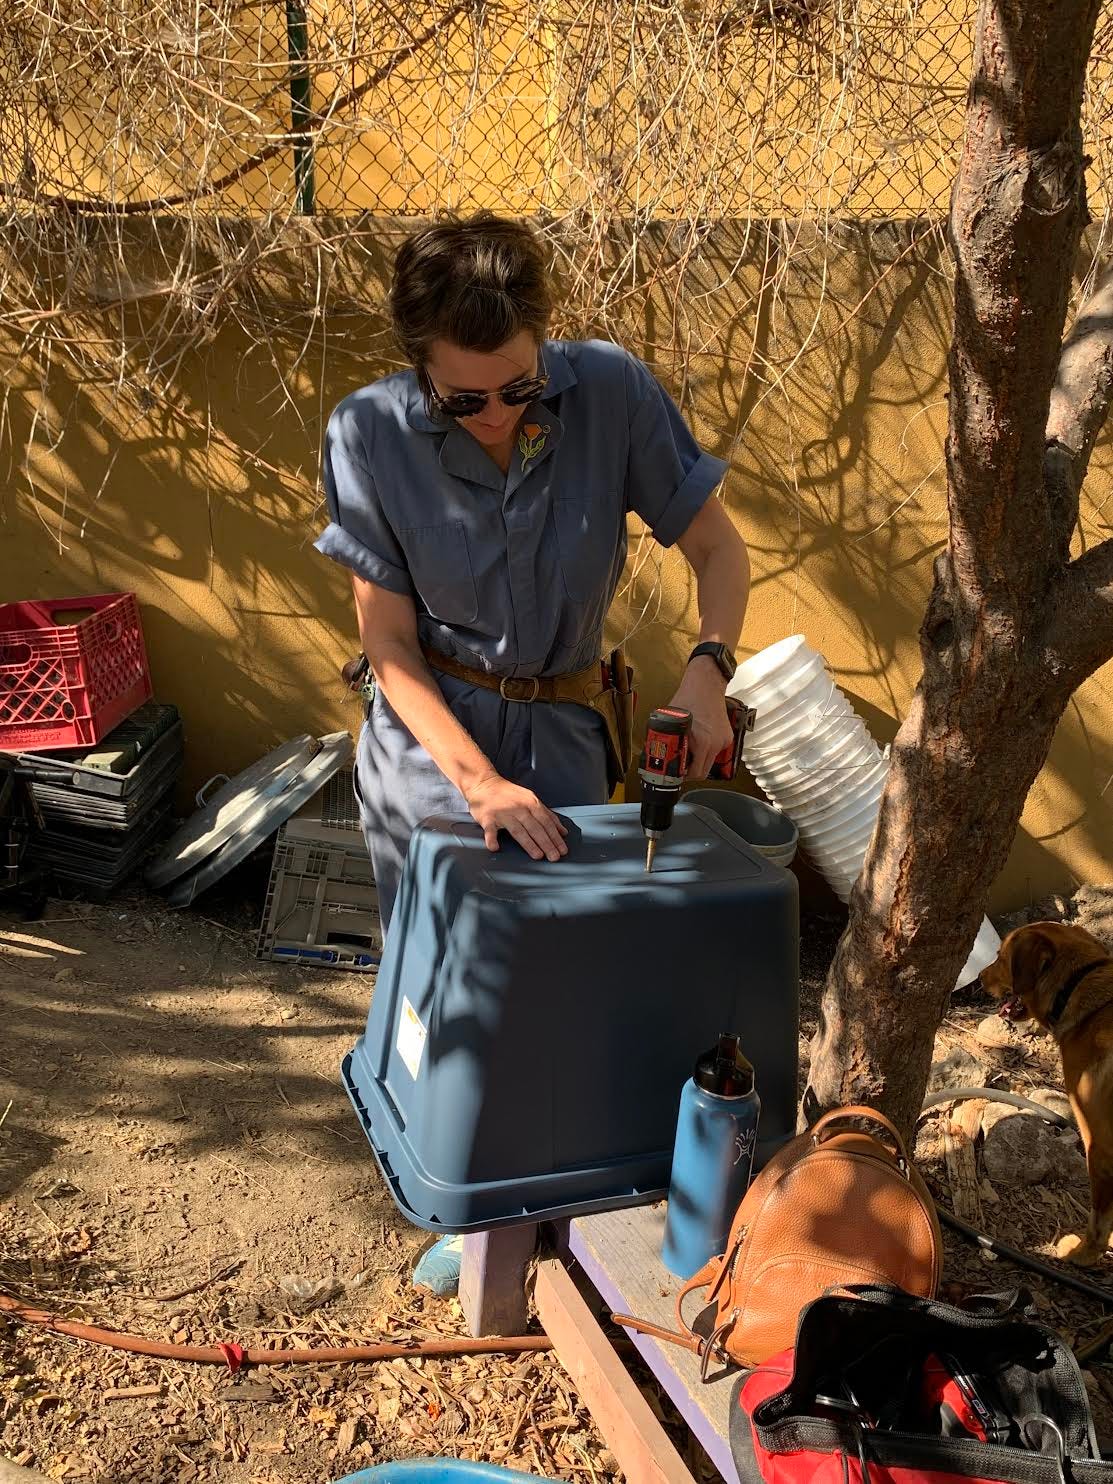
To get started, you’ll want to drill a series of holes in the bottom of one of your two plastic storage bins. A lot of ‘em. These holes are there to provide good drainage, so the ooze that begins to leak from your decaying food scraps doesn’t pool and drown your worms. You’ll also be continually wetting your vermicompost in order to keep the environment moist, and the holes give the water someplace to go.
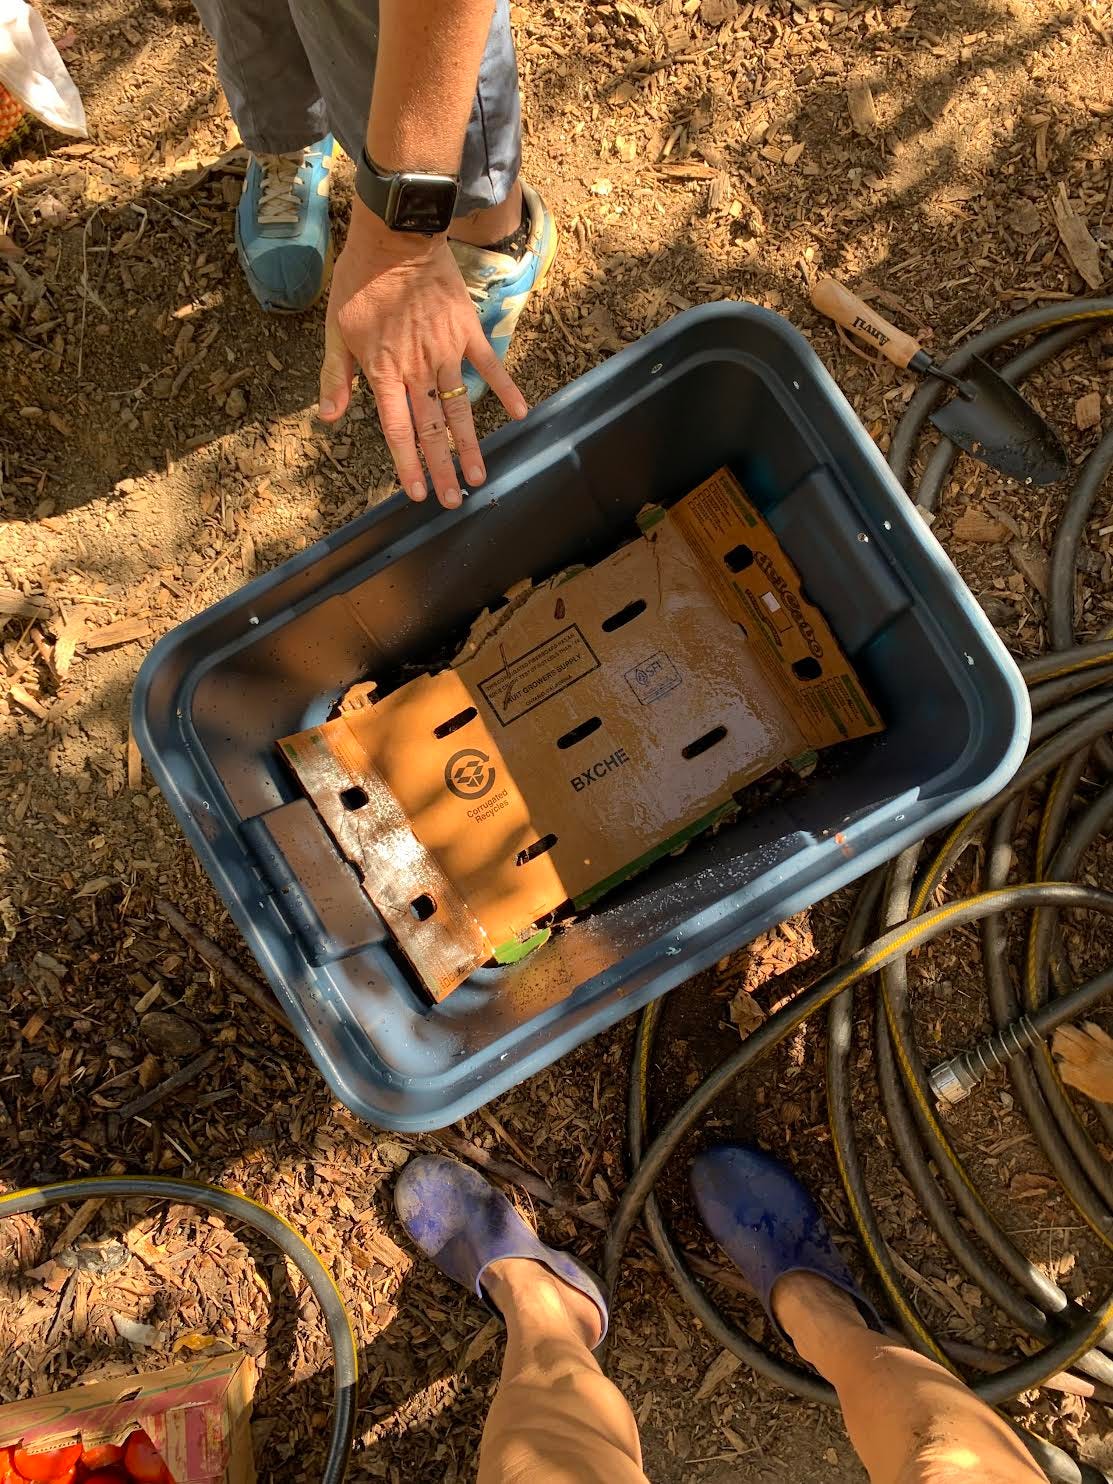
Next, you’ll want to fill your newly-drilled bin with a mixture of bulky brown materials and dirt or compost. (We used compost because we had a lot of it on hand. Go figure.) For browns, we used old eggshell cartons and some paper grocery bags. Cardboard also works well, though. This material, when wet, retains moisture for the worms so that their environment stays damp, and it also provides aeration, so they have oxygen. That means you’ll want your brown materials to be on the bulkier side, and to tear them into large-ish pieces.
Once you’ve filled the bottom 1/3 or so of the bin, you’ll want to moisten everything. Use a hose and give it a good, long soak. The excess water will run out the bottom (remember! the holes…) and, if you have a dog, she’ll also probably need a drink at this point (see pic below). You want to wet the mixture until it’s moist enough that you can squeeze a palm full and get drips of water coming out.
Ready?
Next, you’re going to add food scraps. Red wigglers will eat most things, including paper, poop, and coffee grounds. They will eat soft stuff first since they don’t have teeth, and then they will wait for anything else to break down enough that they can consume it by simply mashing their whole bodies into and through it. (Who can’t relate?) You can help them out a little by chopping up your food scraps before you add them. For reference, I really like this infographic on what to feed and not feed worms. I have it printed out in my office.
Add an equal amount of food scraps to your compost as dirt and cardboard. Mash it all up and wet it again if it needs it. Voila! You have created your worm bed, and now it’s time to add your worms. Be gentle with them when you do. Nuzzle a hole into your worm bed, place them into it, and cover them up again. Then, find a good piece of cardboard and soak it in water. Place this over the top of your newly-built worm bed. It will help keep things dark and extra-moist.
You’re almost done.
Now, you will use your remaining storage bin as a catchment for your first bin’s ooze. You can DIY this by simply placing some large-ish rocks or pieces of wood into the bottom of your second bin, and setting your first bin on top of them. This leaves some space between the two bins where liquid can pool, without drowning the worms. (Just remember to lift the first bin out and empty the liquid every once in awhile.) Cover your top bin, and find a cool and shady place to set everything.
Taking care of your vermicompost
Taking care of your worms is fairly simple. Just keep in mind the principles sketched out at the beginning of this guide. Worms need oxygen, moisture, and darkness. Make sure you’re keeping your worm bed moist, and that you’re adding new food scraps at the same rate your worms are consuming the old ones. If the brown material you’ve added starts to break down and the soil becomes compacted, wet and add some more (cardbard, eggshell cartons, whatever!), making sure to mix it in thoroughly. Like all things compost, your most importance source of information is simply your attention. Just keep checking in on your worms!
Using your vermicompost
This part is simple, particularly for the home gardener. You will recognize worm castings, because their texture is slightly different than the surrounding dirt or compost. They look like what they are: poop! You can reach in and grab a handful to use any time you want. If you grab a worm or two along with the castings, that’s fine. They’ll be very happy in your garden.
Questions? Reply directly to this email, I’m happy to chat.


Awwww-you know how happy you make me writing about worms in the world of composting. I love em!!! They do wonders with food scraps and are so easy to deal with. I learned from you why red wrigglers are the best worms for this (I always wondered). May I add a few additions to your informative column? I put my bin up on bricks and a tray under that. The liquid that comes out of the worm bin is collected in that tray. Periodically, I empty that ‘tea’ into a watering can, dilute it with water and feed my plants. Also, for those of you that still read print, I tear read newspaper into strips, lay that on top of my worms and wet it down. It makes my worms so happy. If I am adding food scraps I push the paper aside and drop them in. I sometimes question my enthusiasm over ‘my’ worms but they truly make me happy doing their silent, composting work. Nature is amazing!!!
I really relate to this comment:
"Your worms will pretty soon become your friends because that’s just what happens when you’re taking care of other living things."
I feel that's a good part of why I compost in the first place. I have a responsibility to the little dudes!