The absolute basics of building a pile
... plus, a free PDF for teaching kids <3
The Rot is supported in its ongoing publication by paid subscribers, who make it possible for me to provide this education for free to all. Every dollar counts and also means the world to me. If you aren’t already, paid subscriptions run just $30/year. ❣️
The easiest people to teach about compost are kids.
They always grasp the basic principles of decomposition immediately. Adults, on the other hand, more indoctrinated to the ways of our modern world, sometimes linger in the intellectual distance. (“You’re telling me a banana peel will… just break down?” etc.) Kids also embrace the characteristics of a compost pile that are most difficult for the average adult to overcome. By that I mean the bugs, the goo, the smells, the ooze. Adults say “Yech”—kids says “Yay!”
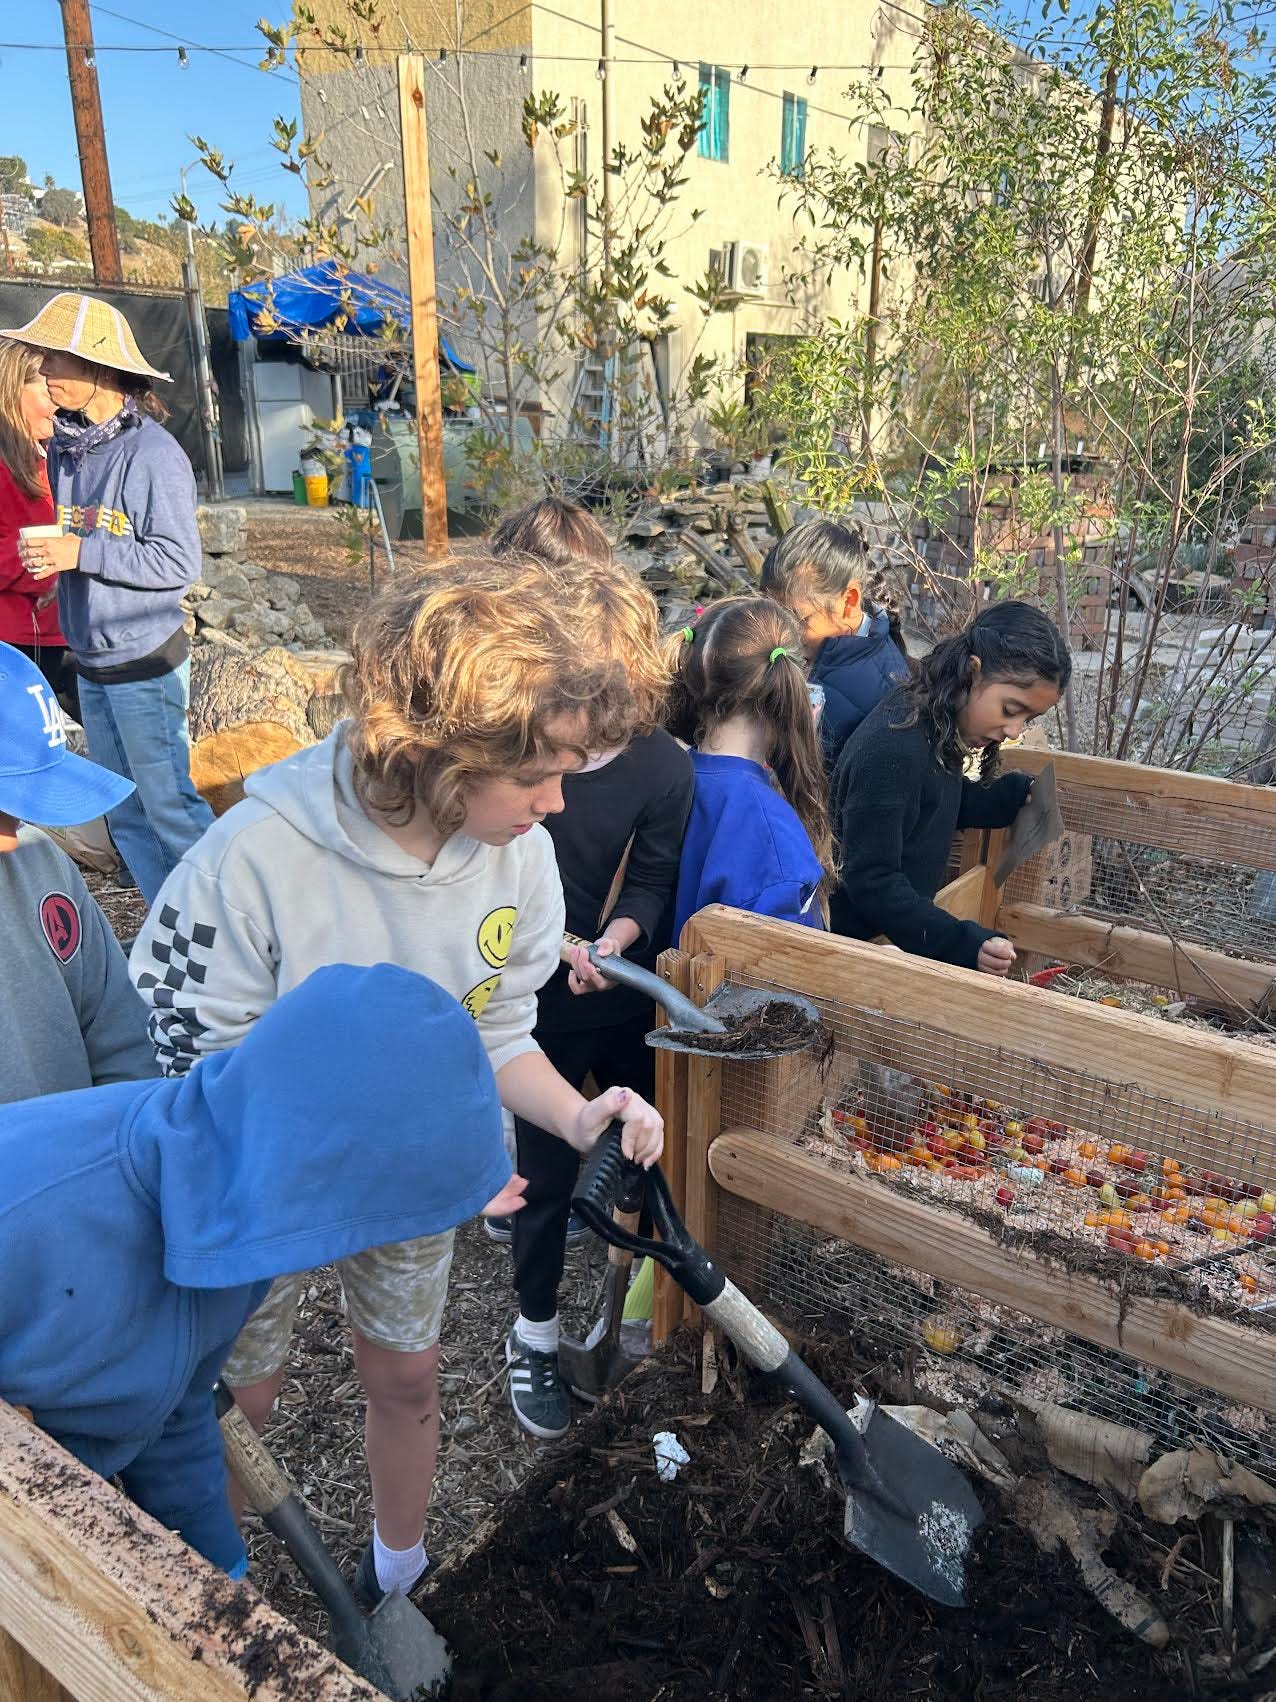
In fact, kids are so naturally inclined to compost that, while teaching a particularly rowdy brood of 3rd graders last week at Terremoto, I found myself continually having to dissuade them from outright eating the food scraps. “This one looks alright to me,” said one girl, biting into the non-moldy end of a particularly large pepper. Another took an eggplant and cradled it like a pet for the remainder of the session. Yet another sorted out some less-obviously rotten strawberries, telling me they wanted to bring them home to “trick” their mother*.
All-in-all, we had a blast.
The thing about teaching kids, though, is that the information I’m conveying to them is really no different than what I would share with an adult. The basics of making a pile are always the basics of making a pile, no matter how old you are or where you live or what type of compost you aim to build. People are always surprised by the simplicity, which I love. Yes, for once in this crazy it really is that easy.
Here is my recipe for Making a Very Easy, Super Simple Compost Pile Under Basically Any Circumstances.
First, it’s important to know that every single compost pile needs three basics things in order to function well: balance, moisture, and airflow.
Your balance will come from maintaining a roughly 2-to-1 ratio of high-carbon to high-nitrogen materials. You should build your first pile using this ratio and then work to add new materials in roughly the same proportion.
Your moisture will come from some of your materials themselves, as they break down. You will also need to add water to your pile with a hose from time-to-time. Rainfall and snow can also add moisture to a pile.
Turning your compost will create airflow. So will the incorporation of bulkier and sturdy high-carbon materials, like thick wood chips and twigs, throughout the pile. The type of compost enclosure you choose should accommodate at least some aeration.
It is your job, as the composter, to construct your pile in a way where all these characteristics are present, and then to maintain them over time. You do not need to be punishingly exact. Just be prepared to estimate, observe, and adjust.
Now, let’s build your pile:
Start with a layer of very sturdy high-carbon materials. Think: broken branches, wood chips, or dried leaves. These will form the base of your pile. They will help create oxygen flow from the bottom, where things are more likely to get compacted as your pile grows.
Then, add a layer of high-nitrogen materials. When you’re done, add more and different types of high-carbon materials, ensuring that they fully cover the previous layer. These could include things like shredded cardboard, sawdust, plus more leaves and branches. Add enough water to dampen things.
Step back and take stock. Are your high-nitrogen materials fully covered? Are your high-carbon materials fully moistened? Run your hand over the top layer and see if the water you added has penetrated beyond the very surface layer. If it hasn’t, give things another quick shot of water.
Keep layering your pile using that same rhythm until you’ve added all the materials you have on hand. Add more high-nitrogen material, then more high-carbon material. You may want to add a handful of twigs or thicker branches to the middle portion of the pile, to ensure proper aeration. Continue adding water intermittently. You want the pile to be moist throughout, but not sopping wet.
Finish the pile with a thick layer of high-carbon material on top. This could be a bunch of leaves or sawdust. Even a layer of flattened cardboard. This will help suppress any odors that occur, in addition to deterring animals and insect infestations. It also, frankly, looks a little bit nicer than raw food scraps.
Then, just leave things alone. The final ingredient of any good compost pile is, simply put, a little bit of patience.
That is, truly, all there is to it.
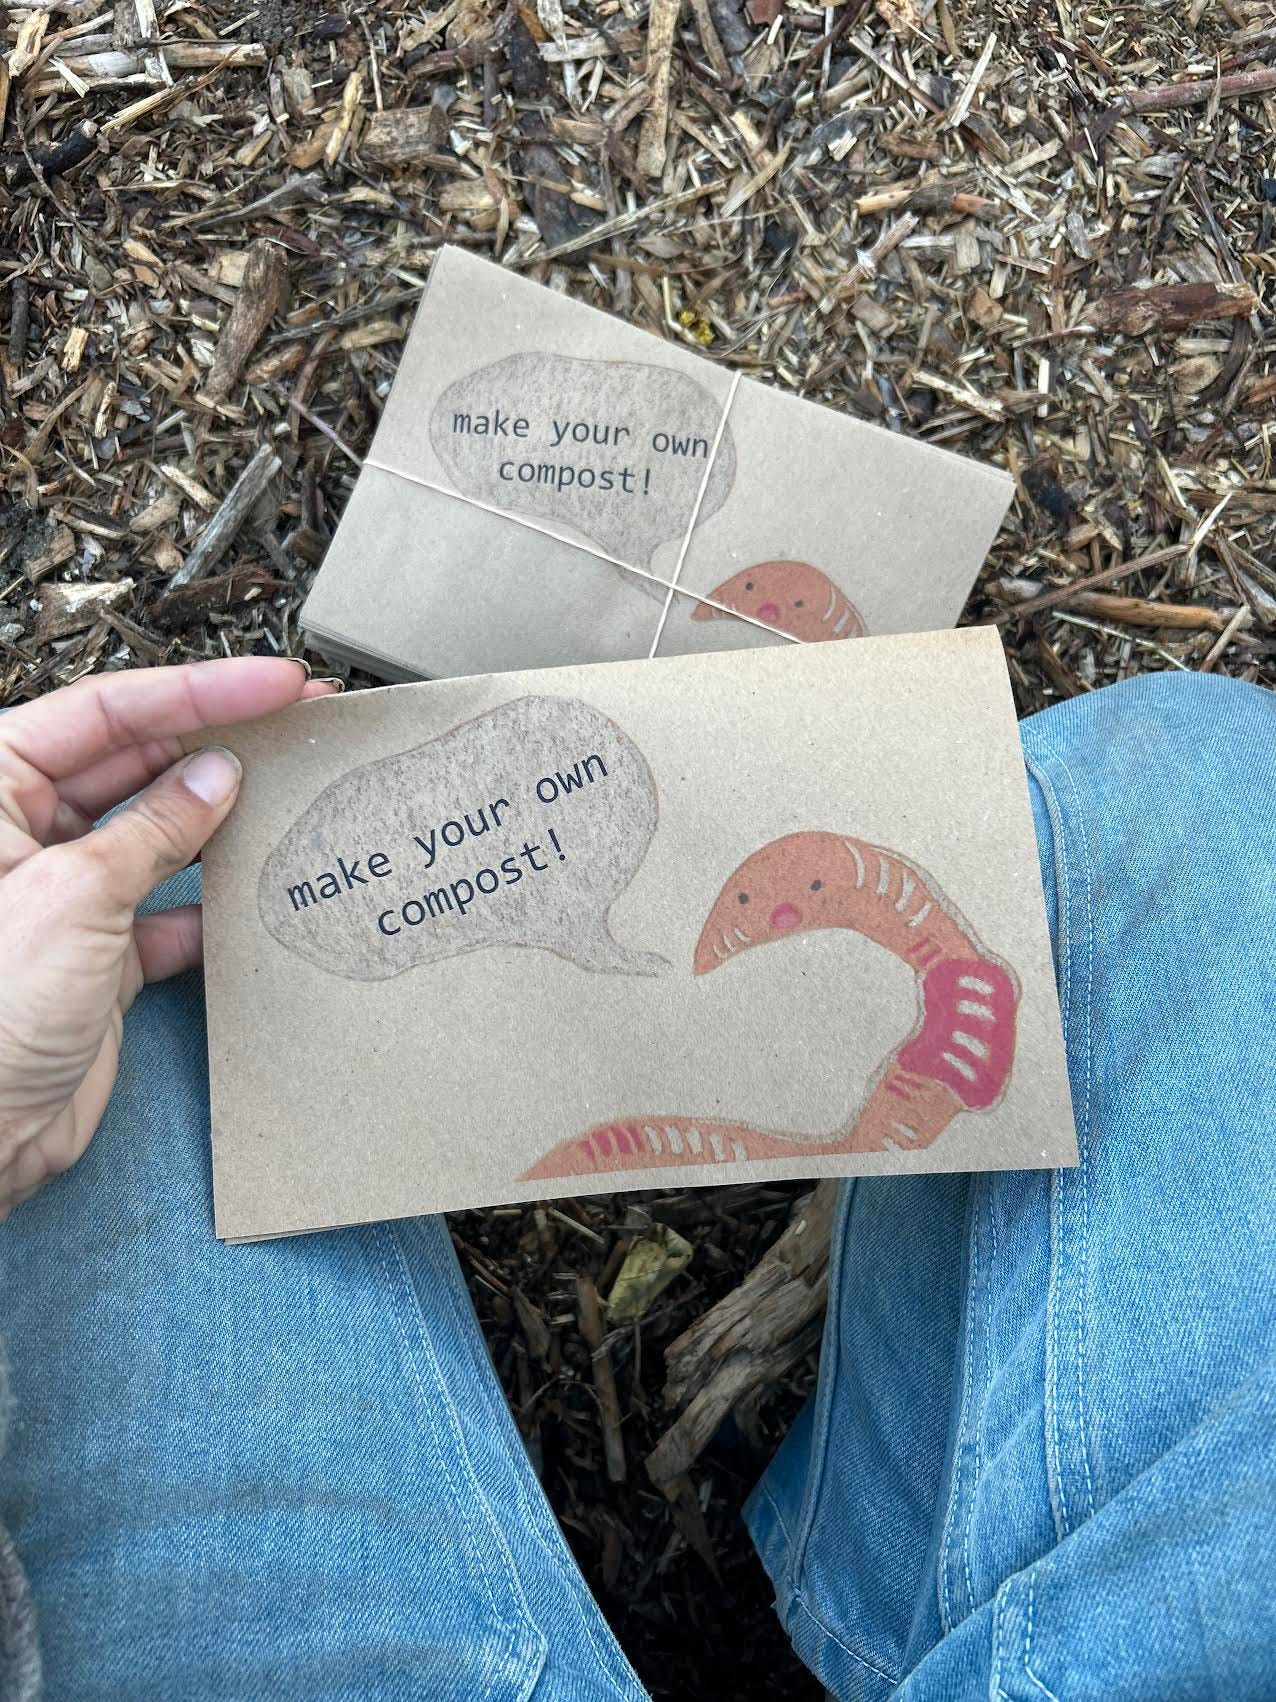
Here is a totally free resource for teaching kids how to compost.
If you have kids of your own and would like a resource to help teach them with, the wonderful Hannah Pae and Terremoto Landscape collaborated with me to design a simple one-sheet for last week’s class. You can access and print it for free here. To make you own, just make sure to use paper that’s 8.5×11”, print double-sided, and then fold.
From the archive of decomposition
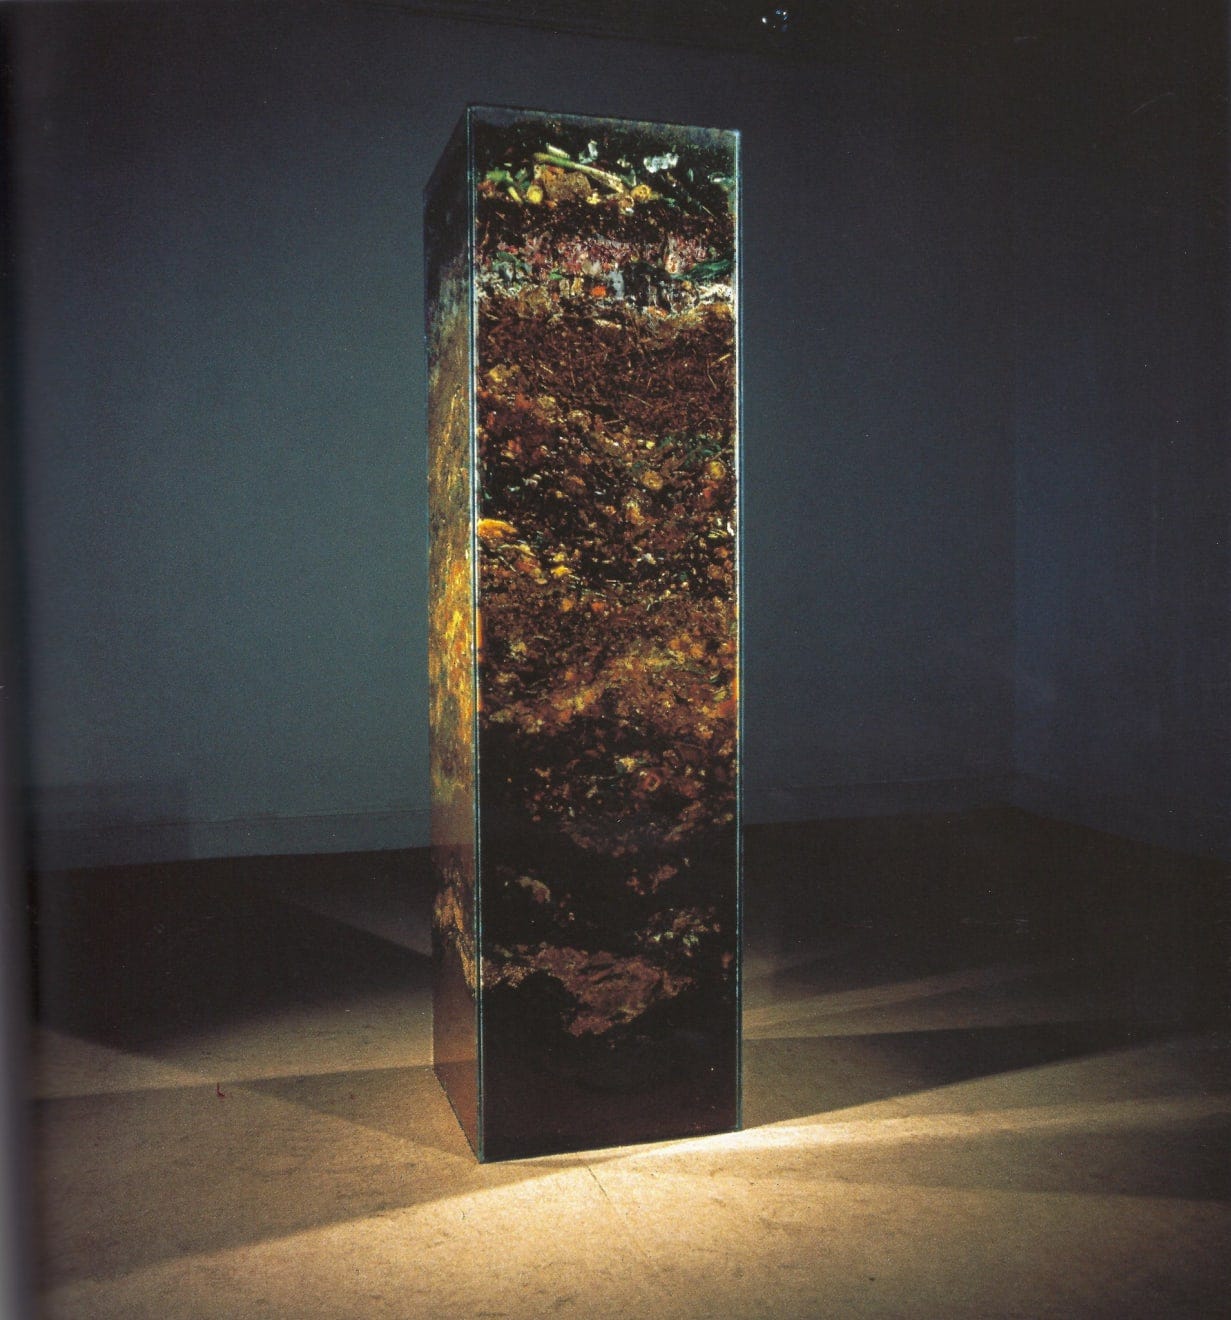
In 1986, the artist Helen Chadwick installed “Carcass” at the ICA in London. It was a sculpture made from food scraps that she’d collected from her neighborhood over the preceding weeks, which she piled into a glass column and let rot. One of my favorite anecdotes about this piece is that the food scraps began to ferment and bubble, releasing gases that eventually cracked the glass open and spewed the half-rotted contents of the column across the the floor of the museum. In no way do I criticize her work when I acknowledge that she made her compost somewhat incorrectly (no high-carbon inputs!), resulting in this infamous and quite smelly explosion. Had she followed the recipe I presented above, she would have had more “luck”—but, in my humble opinion, the resulting work would have been far less glorious.
Until next time,
Cass
*(Don’t worry, Mom, I took the berries back.)


